
Wall-mounted or freestanding bioclimatic pergola?
Compare bioclimatic pergola layouts, post positions, building interfaces and quotation scope. Help customers understand the right arrangement for their site.
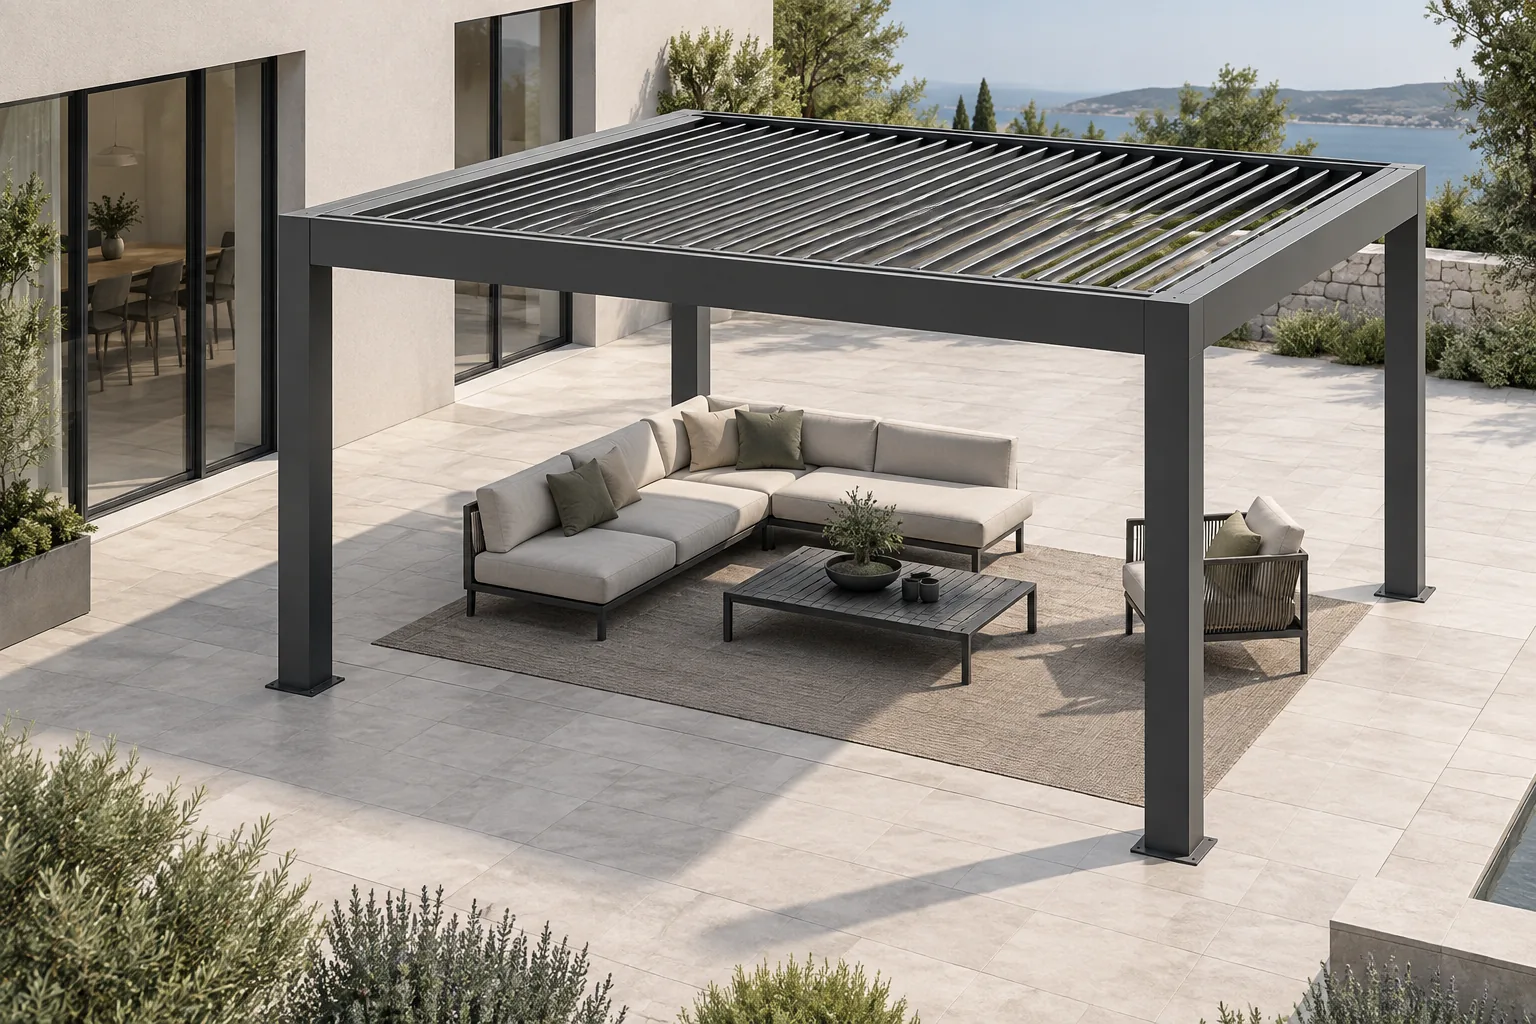
Table of contents
A wall-mounted bioclimatic pergola connects its design to the building. A freestanding layout carries its support arrangement independently of a wall connection. The better choice is not determined by appearance alone: it depends on the intended use, the site and the manufacturer's available structural systems.
For a pergola business, explaining that choice well is part of selling the right product. A clear layout can prevent the quotation from becoming a debate about two prices that include different support and installation assumptions.
Start with the route from the house
Locate the doors people will use, the direction they open and the path toward the garden. Then consider the dining table, seating and any service access. A visually balanced pergola can still place a post where the customer wants to walk.
Discuss the usable area rather than only the outside dimensions. Post positions, side enclosures and furniture can affect how the space works. Record the viewing direction used in plans and quotations so that everybody interprets the layout consistently.
A freestanding structure can sit near a building without being attached to it. Make that distinction explicit; “next to the house” does not specify the structural connection.
Understand what the wall connection changes
A wall-mounted proposal needs information about the building interface, not merely a rear beam drawn against a facade. The fixing substrate, facade build-up, connection detail and weather interface must be reviewed for the actual site by the responsible professionals.
For the sales team, the practical task is to identify what has been established and what still needs confirmation. Do not absorb unresolved installation work into an apparently final product specification. Keep the selected pergola system separate from assumptions about the existing building.
The available choices vary by manufacturer. Product information for systems such as Renson Camargue Skye explicitly distinguishes freestanding and built-on arrangements. That does not mean their dimensions, anchoring or installation details are interchangeable.
Give freestanding supports the same attention
Independent posts still need an approved support and anchoring solution. Existing paving is a visible finish, not evidence of a suitable foundation. Record who is responsible for verifying ground conditions, preparing supports and coordinating work before installation.
Consider how posts interact with the terrace layout and any planned enclosures. If the customer expects to add glass later, discuss that intention before finalizing the configuration. Future compatibility should come from the product specification, not a general promise that accessories can always be added.
Compare the two arrangements consistently
| Decision | Wall-mounted proposal | Freestanding proposal |
|---|---|---|
| Relationship to the house | Building connection and interface require definition | Separation from the facade and independent support layout require definition |
| Circulation | Check doors, rear connection and front posts | Check all post positions and walking routes |
| Site information | Facade and fixing information | Ground and support information |
| Water management | Coordinate the roof and building interface | Coordinate outlets with the independent footprint |
| Commercial scope | Identify building-related work | Identify groundworks and support-related work |
Keep the roof family, finish and intended accessories consistent when comparing proposals. Otherwise a layout comparison quietly becomes a comparison of different products.
Use 3D to make the layout understandable
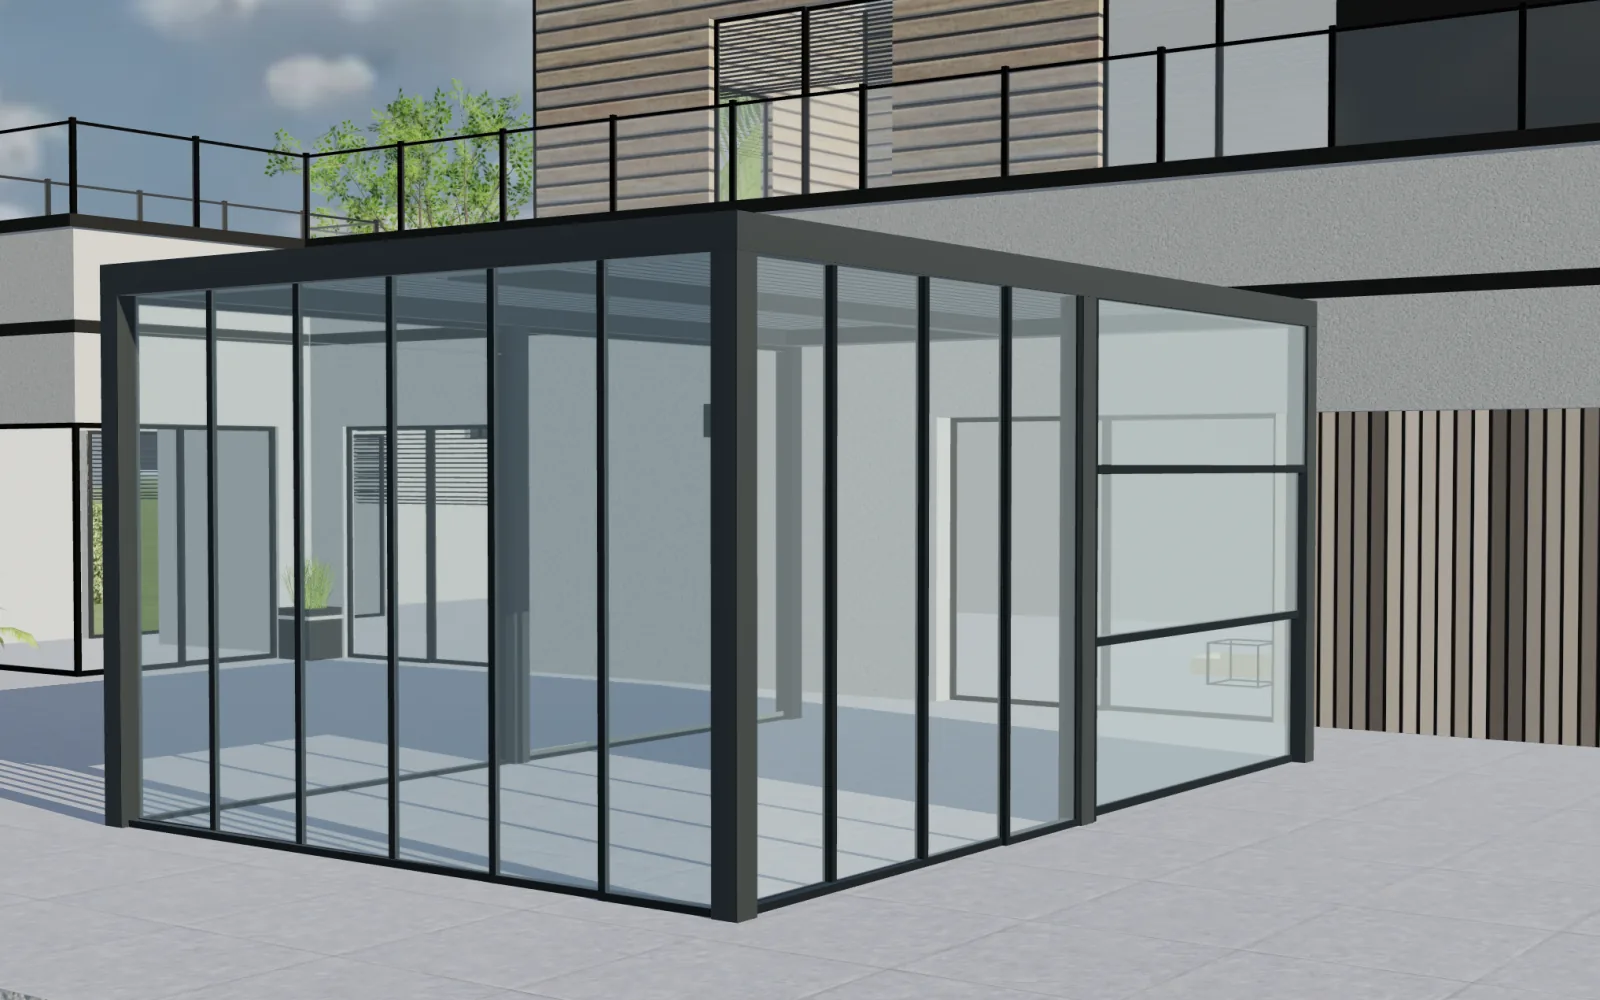
Plans remain important, but many customers find post positions and side choices easier to understand in a complete 3D view. Rotate the proposed product and explain its relationship to the agreed viewing direction. Review an elevation as well as a perspective.
Configurix gives manufacturers and dealers a way to present their pergola range with defined dimensions and product choices. Through the pergola configurator, those choices can remain connected to pricing and quotation information rather than being retyped after the presentation.
A configured model communicates a selected product. Foundation design and structural approval still follow the manufacturer's requirements and the responsible project's review. Keeping those responsibilities clear makes the offer stronger, not weaker.
Finish with a decision the installer can follow
The accepted proposal should identify the arrangement, dimensions, support positions, building-facing side, enclosure choices and responsibilities for site work. Carry unresolved questions into the follow-up process instead of allowing them to disappear behind a signed picture.
Once the footprint is agreed, use the louvre-orientation guide to refine the roof discussion. Manufacturers and dealer networks can book a private Configurix demo to explore how layout decisions can stay connected from the first consultation to the quoted project.
Connect your pergola catalog to a clearer sales process
See how Configurix can connect your product choices, 3D presentation, pricing and quotations in a private walkthrough.
Book a private Configurix demo →Related articles
Sliding glass or ZIP screens for a bioclimatic pergola?
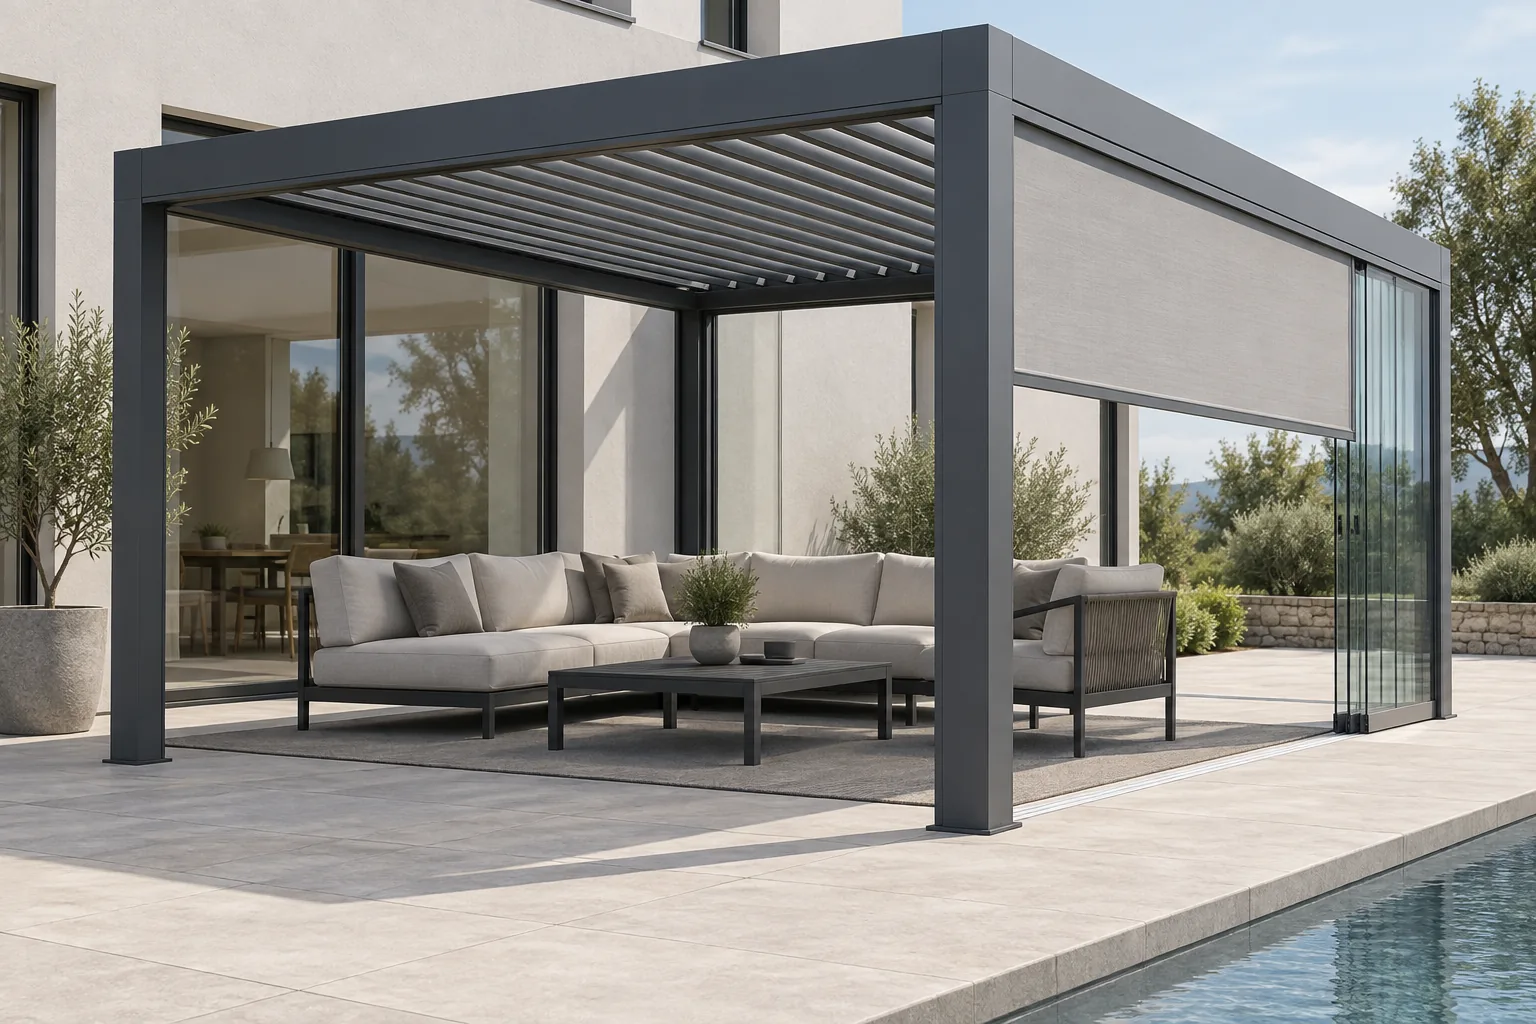
Compare sliding glass and ZIP screens by privacy, access and product compatibility. A practical bioclimatic pergola guide for manufacturers and dealers.
Choosing a bioclimatic pergola configurator: why Configurix
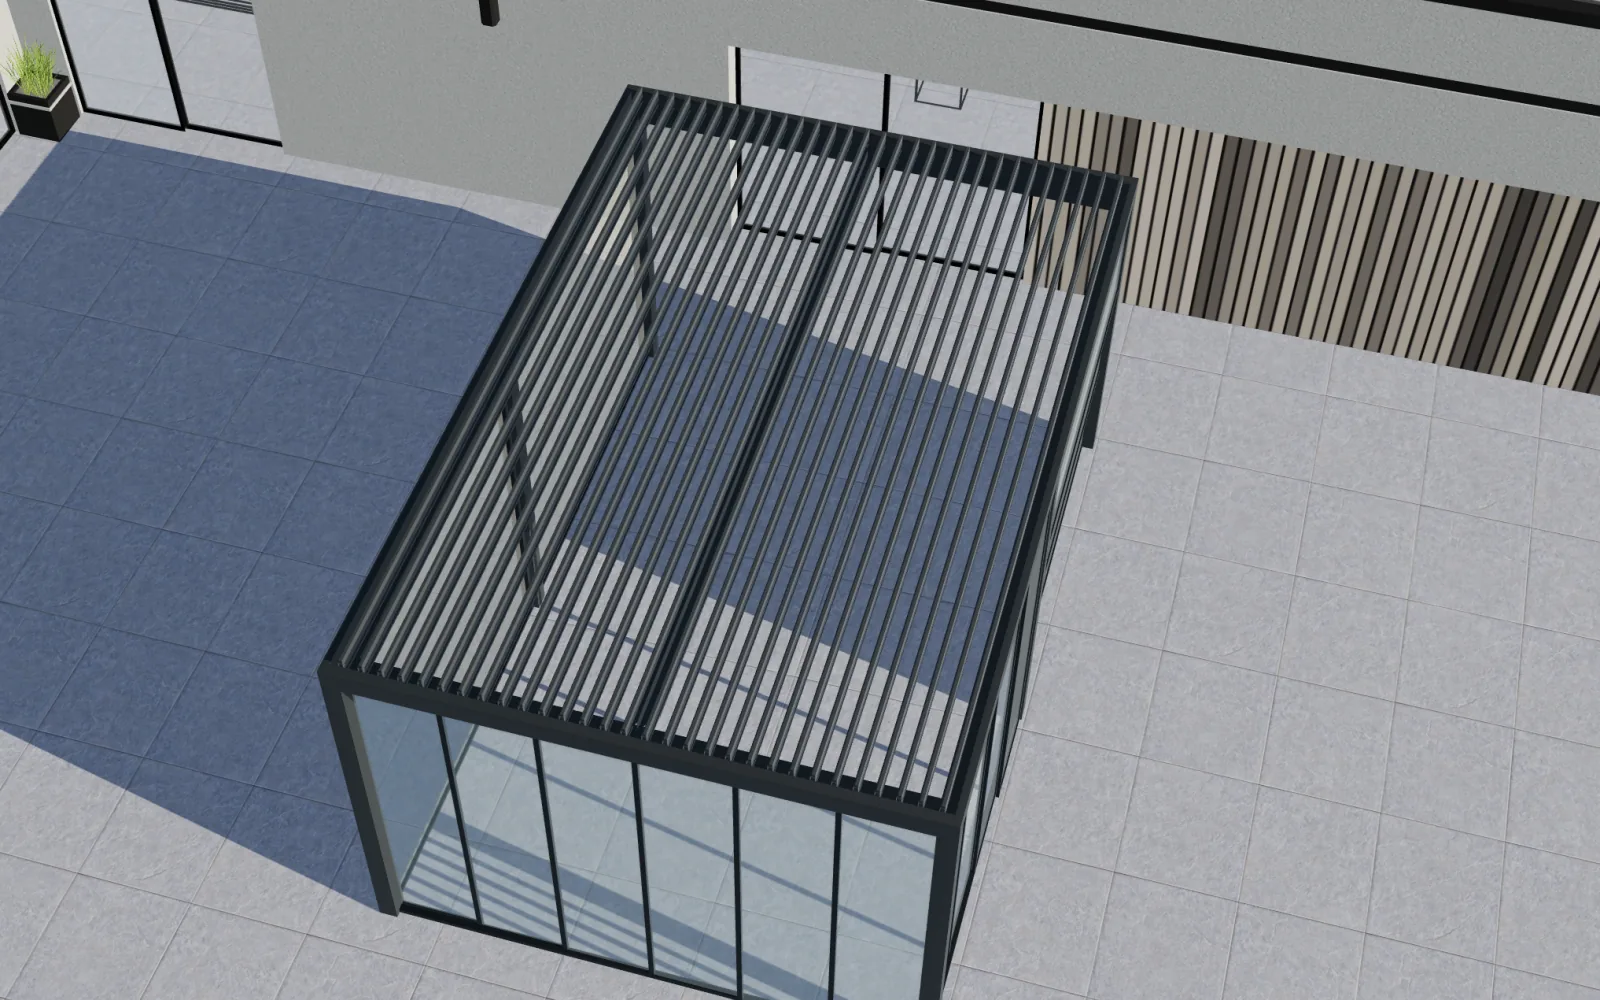
Evaluate Configurix for bioclimatic pergolas: louvres, glass, screens and catalog rules connected to 3D choices, pricing and quotes.
Bioclimatic pergola maintenance: a better dealer handover
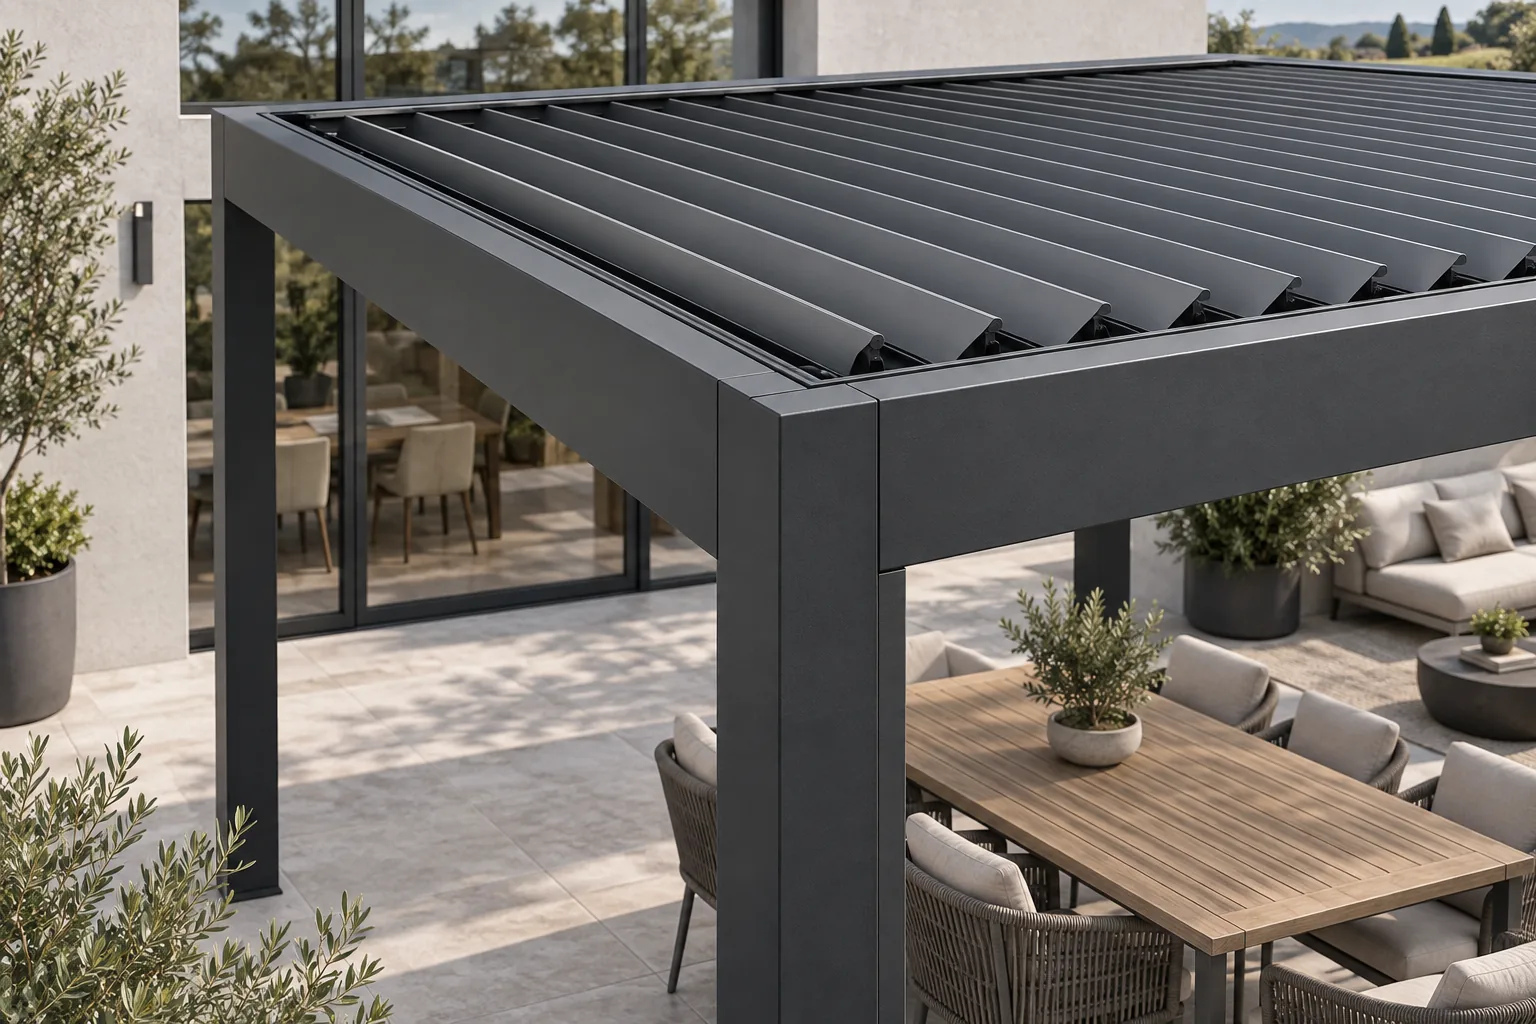
Give bioclimatic pergola customers a clear handover: care instructions, accessory details and an accepted product record your service team can use.
Pergola configuration for installers: from site survey to clear quote
Connect pergola choices, surveyed dimensions and revised quotes with Configurix. A practical workflow for installers and dealer-installers.